This article may contain affiliate links. Please read full disclosure for more information.
We’ve all been there: You’re moving a magnet, or a rogue pan handle dings the stove, and suddenly there’s a glaring scratch staring back at you. While stainless steel is famous for its durability and modern aesthetic, its sleek finish can be a magnet for scuffs, fingerprints, and scratches.
The good news? You don’t need a professional repair crew or a massive budget to get that showroom shine back. With a little patience and a few household staples, you can buff out those marks yourself. Here is your comprehensive, step-by-step guide to restoring your fridge, stove, and microwave.
Understanding Your Surface: What is “The Grain”?

Before you grab your cleaning kit, it is vital to understand the anatomy of your appliances. Stainless steel isn’t just a solid block of shiny metal; during the manufacturing process, the steel is “brushed” with rollers to create a specific texture.
If you look very closely at your fridge or microwave, you’ll notice tiny, faint lines running across the metal—this is the grain.
-
The Golden Rule: Always rub, buff, and wipe in the direction of these lines.
-
Why it matters: If you scrub against the grain or in circles, you aren’t fixing the scratch; you are actually creating thousands of tiny new scratches that will make the metal look cloudy or permanently damaged.
Step 1: Preparation and Cleaning

You can’t fix a scratch if there’s hidden grease, kitchen grime, or dust in the way. In fact, if you try to buff a surface that has tiny bits of grit on it, you’ll end up grinding that grit into the finish.
-
Degrease: Use a microfiber cloth and warm, soapy water.
-
Rinse and Dry: Wipe the soap away with a damp cloth and dry the surface completely. A dry surface allows you to see the true depth of the scratch without reflections from water spots.
Step 2: The Gentle “Whitening” Method (Light Scuffs)

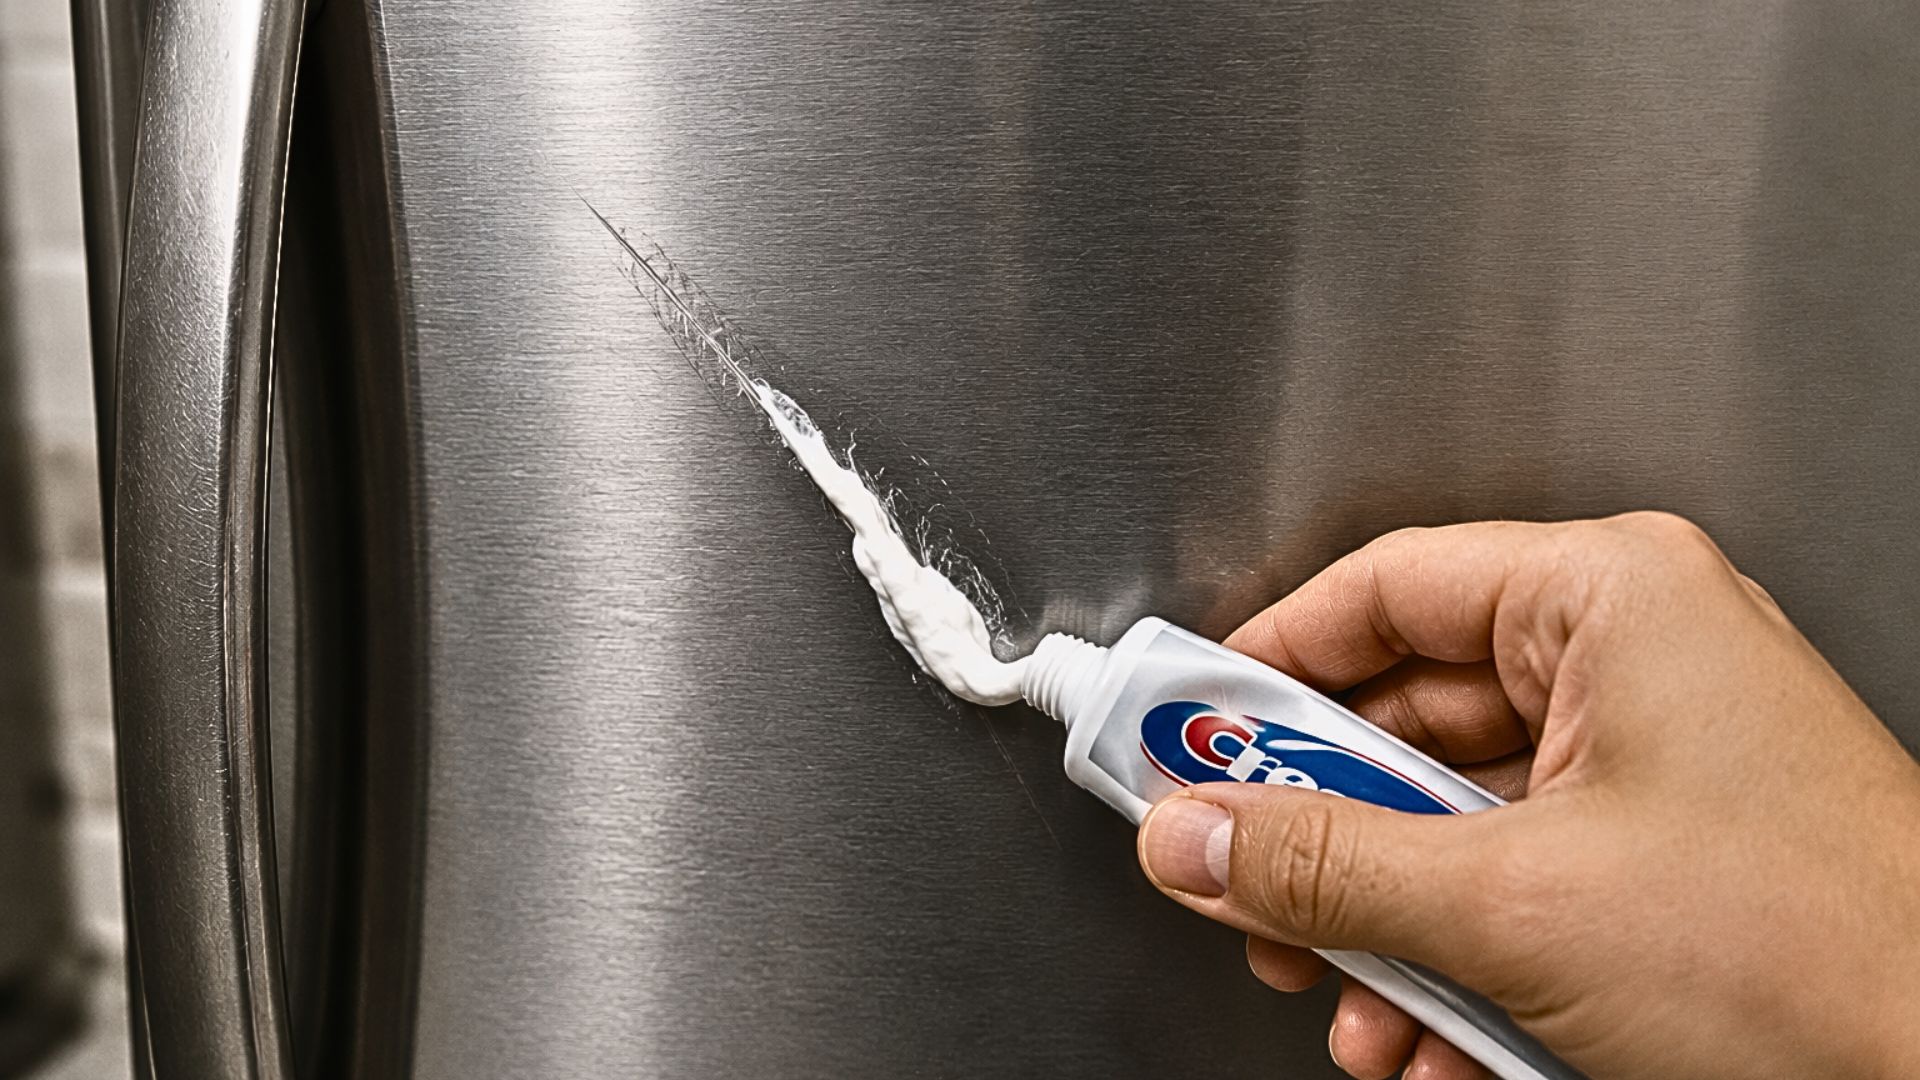
For light scuffs on the microwave or fridge door—the kind you can see but can’t really feel with your fingernail—skip the heavy tools and head to the bathroom.
-
The Fix: Use a standard whitening toothpaste. It must be the solid white paste, not the translucent gel variety. The white paste contains tiny abrasives (usually silica) designed to polish teeth; those same abrasives are perfect for polishing metal.
-
The Action: Put a dab on a soft cloth and rub it over the scratch, moving strictly with the grain.
-
The Reveal: Wipe it away with a damp cloth. If the scratch has faded but isn’t gone, repeat the process 2–3 times.
Step 3: The Baking Soda Buff (Medium Scratches)

If the toothpaste didn’t quite do it—especially on a stovetop where scratches might be deeper from sliding heavy cast iron pans—it’s time to make a “power paste.”
-
The Fix: Mix two parts baking soda with one part water to create a thick, frosting-like consistency.
-
The Action: Apply the paste to a microfiber cloth and buff gently along the grain. Baking soda is slightly more abrasive than toothpaste but still gentle enough that it won’t strip the finish.
Step 4: For Stubborn, Deep Scratches
If you can feel the scratch with your fingernail, you might need a dedicated stainless steel scratch repair kit or a fine-grit scouring pad.
-
The Tool: Use a maroon or grey Scotch-Brite pad. Avoid steel wool at all costs. Steel wool can leave behind tiny particles of carbon steel that will eventually rust, leaving your “stainless” steel covered in orange spots.
-
The Lubricant: Apply a little bit of stainless steel cleaner or even a drop of olive oil to the pad. This helps the pad glide and prevents you from “digging” too deep into the metal.
-
The Blend: Once the scratch is buffed out, gradually widen your strokes. This “feathers” the edges so the newly repaired spot blends seamlessly into the rest of the appliance.
Preventative Maintenance: Keeping the Shine Alive

The best way to deal with scratches is to prevent them from happening in the first place. A little proactive care goes a long way in maintaining that high-end kitchen look.
-
The “Oil Barrier”: Once a month, after a deep clean, apply a very thin layer of food-grade mineral oil to your appliances. This doesn’t just make them shine; it creates a microscopic “slip” that allows objects to glide off the surface rather than digging in.
-
Magnet Mindfulness: We all love fridge magnets, but the backs of them can trap grit. Every time you move a magnet, you risk a scratch. Consider using felt-backed magnets or magnetic “frames” that stay stationary.
-
Microfiber Only: Get into the habit of only using microfiber cloths. Paper towels are actually quite abrasive and, over the years of use, can dull the finish of your microwave and stove.
The “Mistakes to Avoid” Checklist
Before you start your repair, make sure you aren’t accidentally making the problem worse. Avoid these common pitfalls:
-
[ ] Using steel wool: As mentioned, this leads to rust. Use synthetic scouring pads only.
-
[ ] Circular Buffing: Never move in circles. It works for cars, but it ruins the brushed look of stainless steel.
-
[ ] Harsh Chemicals: Avoid bleach or ammonia-based cleaners. These can cause “pitting” or permanent discoloration (dark spots) on the metal.
-
[ ] Skipping the Test: Always test your buffing method on a hidden area (like the side of the fridge or the bottom edge of the dishwasher) before tackling the front-and-center door.
-
[ ] Ignoring “Fingerprint-Resistant” Coatings: Some modern appliances have a thin plastic-like clear coat to prevent prints. If you scrub these with abrasives, you will peel the coating. If your appliance feels “rubbery” rather than cold and metallic, stick to soap and water only!
The Final Step: Best “Home Remedy” Polishes
Once the scratches are gone, you need to “seal” the surface to give it that uniform, professional glow. You don’t need expensive specialty sprays; some of the best polishes are likely already in your pantry.
-
The Olive Oil Secret: Olive oil is a fantastic natural polisher. It fills in the microscopic grooves of the metal, making it harder for fingerprints and water spots to stick.
-
How to do it: Put two drops on a clean cloth. Buff it into the metal with the grain, then use a separate dry cloth to buff away the excess. If it feels greasy, you used too much!
-
-
The White Vinegar Rinse: If your appliance looks cloudy after you’ve removed a scratch, white vinegar is your best friend. It cuts through any leftover baking soda or toothpaste residue.
-
How to do it: Lightly mist the surface with vinegar and wipe it down with a microfiber cloth. Follow up immediately with a tiny bit of oil to restore the luster.
-
-
Club Soda Sparkle: For a streak-free finish on microwaves and fridge doors, club soda is a hidden gem. The carbonation helps lift any remaining grit without leaving behind a chemical film.
How to do it: Simply spray it on, wipe with the grain, and buff dry.
Shop: Food-Grade Mineral Oil:
Food-grade mineral oils can be used to shine and protect your stainless steel appliances. The bonus for this is to use it to polish and season your wooden cutting boards, too.
Conclusion
Restoring your kitchen appliances doesn’t have to be a daunting task. By understanding the grain of your metal, staying away from harsh steel wool, and starting with the gentlest method first, you can keep your fridge, stove, and microwave looking brand new for years.
It’s all about a little bit of friction and a lot of consistency. Plus, using items you already have under your sink or in your pantry makes this a win for both your kitchen and your wallet